The short answer
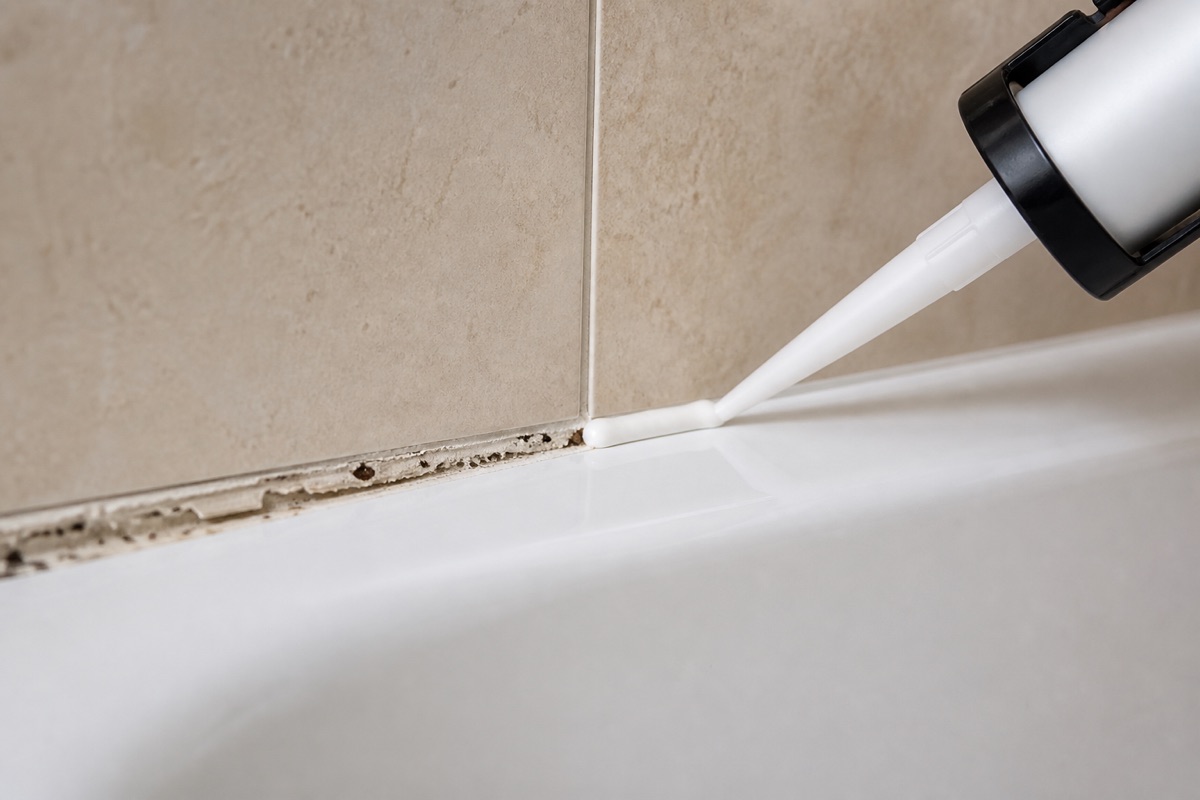
Silicone will not bond to cured silicone, so removing every trace of the old bead is most of the job — cut it out, scrape the residue, then wipe the joint with methylated spirit to clear the invisible oil film. Use sanitary-grade silicone with a fungicide in wet areas, never paintable acrylic caulk, which cracks and lets water through within a year. And fill the bath with water before you seal it: a full bath drops several millimetres on its feet, and sealing it empty means the joint splits the first time someone gets in.
Silicone around a bath, a shower tray or a worktop is a consumable. It has a service life of a few years, and when it fails it does so quietly — water passes behind it into the wall or the cabinet long before anything looks wrong from the outside.
Silicone or caulk — they are not interchangeable
| Silicone | Acrylic caulk (decorator’s caulk) | |
|---|---|---|
| Water resistance | Excellent — fully waterproof | Poor — water-resistant at best |
| Flexibility | High, stays flexible | Low, hardens over time |
| Paintable | No | Yes |
| Use for | Baths, showers, sinks, worktops, external | Skirting, architrave, filling cracks before painting |
The common error is acrylic caulk around a bath because it can be painted. It will crack and let water through within a year. Wet areas need sanitary-grade silicone with a fungicide, and it cannot be painted — choose the colour instead.
When it needs redoing
- Black mould growing in the silicone rather than on it — cleaning has stopped working
- Any gap, split, or section lifting away from a surface
- The bead has gone hard and lost its flexibility
- Discolouration that no longer cleans off
- Any sign of water behind — a stained ceiling below, a swollen cabinet base, lifting flooring at the bath edge
Typical life is three to five years in a family bathroom, longer in a rarely used one.
Removing the old
This is most of the job, and doing it properly is the difference between a bead that lasts five years and one that peels in six months. New silicone will not bond to old silicone. Every trace has to go.
- Cut along both edges with a sharp blade — a dedicated silicone removal tool or a fresh utility knife held nearly flat.
- Pull the bead away in one length if you can.
- Scrape the residue with a plastic scraper. On tile a blade works; on acrylic baths and shower trays use plastic only, because they scratch easily.
- Apply silicone remover gel to the film that remains, leave for the stated time, and scrape again.
- Wipe the joint with methylated spirit or isopropyl alcohol and let it dry completely. This removes the invisible silicone oil film that stops adhesion.
- Make sure the joint is bone dry. If the bath has been used that day, leave it overnight.
Applying the new bead
- Fill the bath with water before you seal it. This is the step almost everyone skips. A full bath drops on its feet by several millimetres; sealing it empty means the joint is stretched apart the first time someone gets in, and the bead splits. Fill it, seal, and leave the water in until the silicone has cured.
- Cut the nozzle at 45 degrees, opening slightly smaller than the gap. You can always cut more off.
- Mask both sides with tape about 3 mm from the joint if you want a crisp line. It genuinely helps a first attempt look professional.
- Apply in one continuous pass at a steady speed, pushing the nozzle ahead of the bead rather than dragging it. Stopping and starting is where beads go lumpy.
- Tool the joint within a few minutes — a silicone spreader, or a wet finger dipped in water with a drop of washing-up liquid. One firm pass, not repeated fussing.
- Remove the masking tape immediately while the silicone is wet, pulling away from the bead.
- Leave it to cure — 24 hours minimum, and check the tube; some need longer before contact with water.
Where else it matters
- Kitchen worktop to wall — water behind here swells a chipboard worktop and destroys it from the inside
- Around the sink rim — the same problem, and a common source of a cabinet base that has quietly rotted
- External window and door frames — use an exterior-grade sealant, not bathroom silicone
- Shower tray to wall — the single most important joint in a bathroom
Common questions
Why fill the bath before sealing it?
A full bath sinks several millimetres under the weight of the water and the person in it. Seal it empty and that movement stretches the joint apart the first time it is used, which splits the bead. Fill it, seal, and leave the water in until fully cured.
Can I put new silicone over the old?
No. Silicone does not bond to cured silicone, so a bead applied over old material peels away within months. Every trace has to be removed, and the joint wiped with methylated spirit to clear the invisible oil film.
What is the difference between silicone and decorator’s caulk?
Caulk is paintable and not waterproof; silicone is waterproof and not paintable. Using caulk around a bath because it can be painted is the most common sealing mistake, and it fails within a year.
The mould keeps coming back. Why?
Because it has grown into the silicone rather than sitting on it, so surface cleaning is only cosmetic. Cut it out, dry the joint completely, and reseal with a fungicidal sanitary silicone — and fix the ventilation, or it will happen again.
How long before I can use the shower?
Twenty-four hours minimum, and check the tube — some sealants specify longer before water contact. Rushing this is a false economy, because a bead that gets wet before curing never develops full adhesion.