The short answer
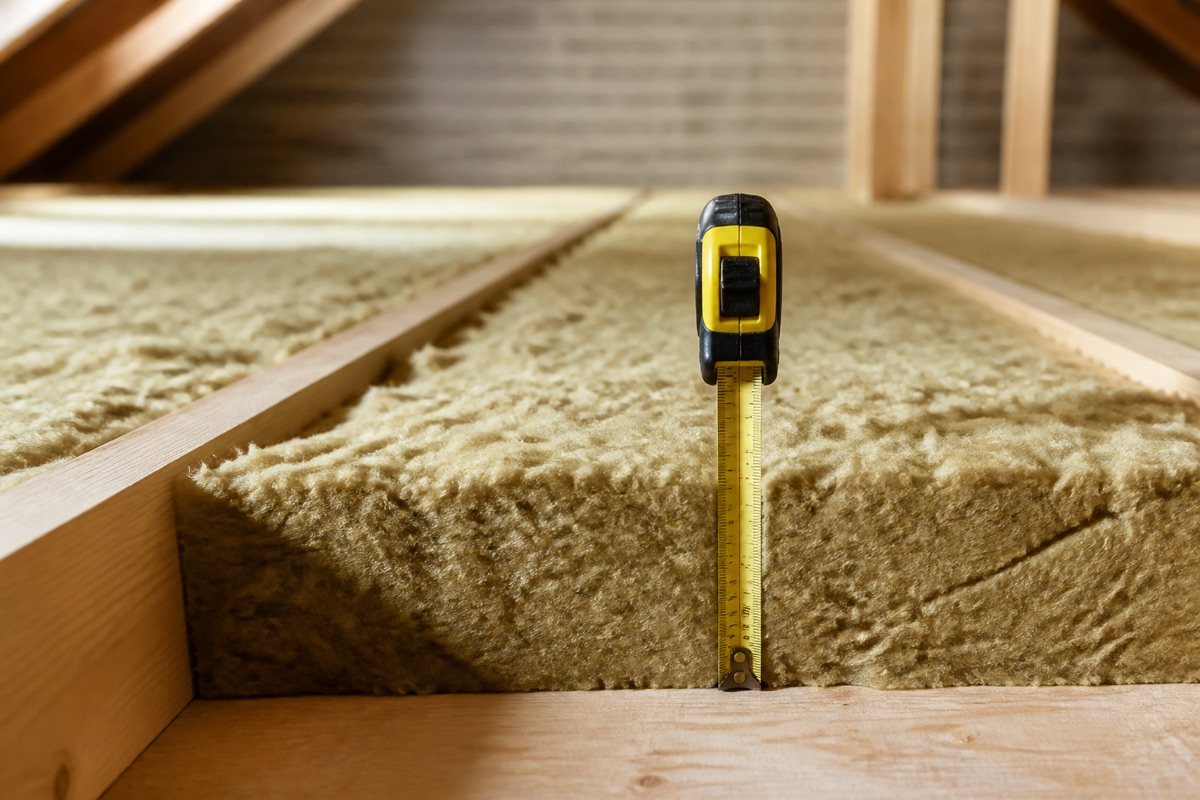
Current guidance is 270–300 mm of mineral wool, but most houses have whatever was standard when they were built — 100 mm in the 1990s, 50 mm or less before that. Measure it with a tape pushed through to the ceiling at several points. Lay a second layer crossways over the joists, because timber joists conduct heat far better than insulation and leaving them exposed creates a grid of thermal bridges. Three things must never be covered: eaves ventilation, non-fire-rated downlights, and the area beneath a cold water tank.
Loft insulation is the cheapest large win available in most houses, and the most commonly found to be inadequate — not because it was never installed, but because standards rose and nobody went back up to check.
Before going up: loft floors are usually joists and plasterboard, not a floor. Step only on the joists or on boards laid across them. Take a light, and do not go up alone if the access is awkward.
What depth you should have
The recommended depth has increased substantially over the decades, which is why so many lofts are under-insulated:
| Era | Typical depth then |
|---|---|
| 1970s–80s | 25–50 mm |
| 1990s | 100 mm |
| 2000s | 200 mm |
| Current recommendation | 270–300 mm for mineral wool |
A house insulated to the standard of its build year and never touched since almost certainly has a fraction of what it should. Measuring takes two minutes: push a tape measure or a marked stick down through the insulation to the ceiling below, at several points around the loft.
How it should be laid
The standard approach is two layers:
- First layer between the joists, cut to fit snugly, level with the top of the joists — typically 100 mm
- Second layer across the joists at right angles, typically 170 mm, which covers the joists themselves
That cross-laying matters. Joists are timber, timber conducts heat far better than mineral wool, and insulation only between them leaves a grid of thermal bridges across the whole ceiling. The second layer is what eliminates them.
The three things that must not be covered
These are the mistakes that turn an energy improvement into a damp problem or a hazard.
1. Eaves ventilation
Air must move through the loft to carry away moisture. Insulation stuffed hard into the eaves blocks that airflow, and a loft with no ventilation gets condensation, then mould, then rot in the roof timbers. Leave a clear gap at the eaves, or fit rafter trays to hold the insulation back.
2. Recessed downlights
Older non-fire-rated downlights get hot and covering them with insulation is a genuine fire risk. Use proprietary loft caps designed to maintain a clearance, or replace the fittings with fire-rated, insulation-coverable (IC-rated) units.
3. Water tanks and pipework
Do not insulate underneath a cold water tank. The whole point is to let warmth from the house below reach it so it does not freeze. Insulate the tank’s sides and lid, and leave the area beneath it clear. Lag all pipework in the loft, since it is now in a much colder space than before.
Insulating the hatch
An uninsulated loft hatch is frequently the single largest heat loss point in a house, because warm air rises to exactly that spot. It is an hour’s work:
- A slab of insulation fixed to the upper face of the hatch
- Compression seal around the frame
- A latch that pulls the hatch tight against the seal
The draught-proofing side of this is covered in Weatherstripping and Draught Sealing.
Storage and boarding
Laying boards straight onto the joists compresses the insulation, and compressed mineral wool loses most of its value — the performance comes from trapped air, not the fibre.
The correct approach is raised loft boarding: plastic or timber legs that lift the boards above the full insulation depth, leaving it uncompressed underneath. Systems for this are readily available and not expensive relative to the insulation they protect.
When to top up rather than replace
Mineral wool does not wear out. Unless it is wet, contaminated, or has been disturbed by pests, you top up over the existing layer rather than removing it.
Replace it where you find:
- Damp or water-stained insulation — find and fix the leak first
- Evidence of rodents
- Very old material that has slumped and lost its loft
While you are up there
- Look for daylight through the roof — slipped tiles or damaged felt
- Check for water staining on rafters and on the insulation surface
- Check that bathroom and kitchen extractor ducts terminate outside, not in the loft. A duct venting into a roof space is a serious defect and a common one
- Note the state of any old wiring for an electrician to look at
Common questions
How deep should loft insulation be?
270–300 mm of mineral wool by current recommendations. Most houses have whatever was standard when they were built — 100 mm in the 1990s, 50 mm or less before that — so measuring is usually worth doing before assuming you are covered.
Why must the second layer go crossways?
Because the joists themselves conduct heat far better than the insulation. Insulating only between them leaves a grid of thermal bridges across the whole ceiling. The cross-laid layer covers the joists and removes them.
Can I board over insulation for storage?
Not directly on the joists — that compresses the insulation and destroys most of its value, since the performance comes from trapped air. Use a raised loft boarding system that lifts the boards clear of the full depth.
Should I insulate under the water tank?
No. Warmth rising from the house is what stops that tank freezing. Insulate its sides and lid, lag the pipework, and leave the area directly beneath it clear.
Do I need to remove old insulation first?
Only if it is damp, contaminated by rodents, or has slumped badly. Mineral wool does not degrade with age — normally you top up over the existing layer, cross-laid, to reach the target depth.