The short answer
Test a fridge gasket by closing the door on a sheet of paper at eight or ten points around each door — anywhere it slides out freely is leaking. Most failures are dirt rather than wear: clean the folds with warm soapy water, never bleach or petroleum jelly, and dry thoroughly. A gasket that has taken a set often recovers with 20–30 seconds of a hair dryer on low, then pressed back into shape. Replace when it is cracked, hardened, or still fails after a proper clean.
A refrigerator door seal is a part that fails slowly and invisibly. It does not tear or fall off. It goes stiff, or picks up a permanent kink from a jar left against it, and from then on the compressor runs a little longer every hour to make up for the air it is losing.
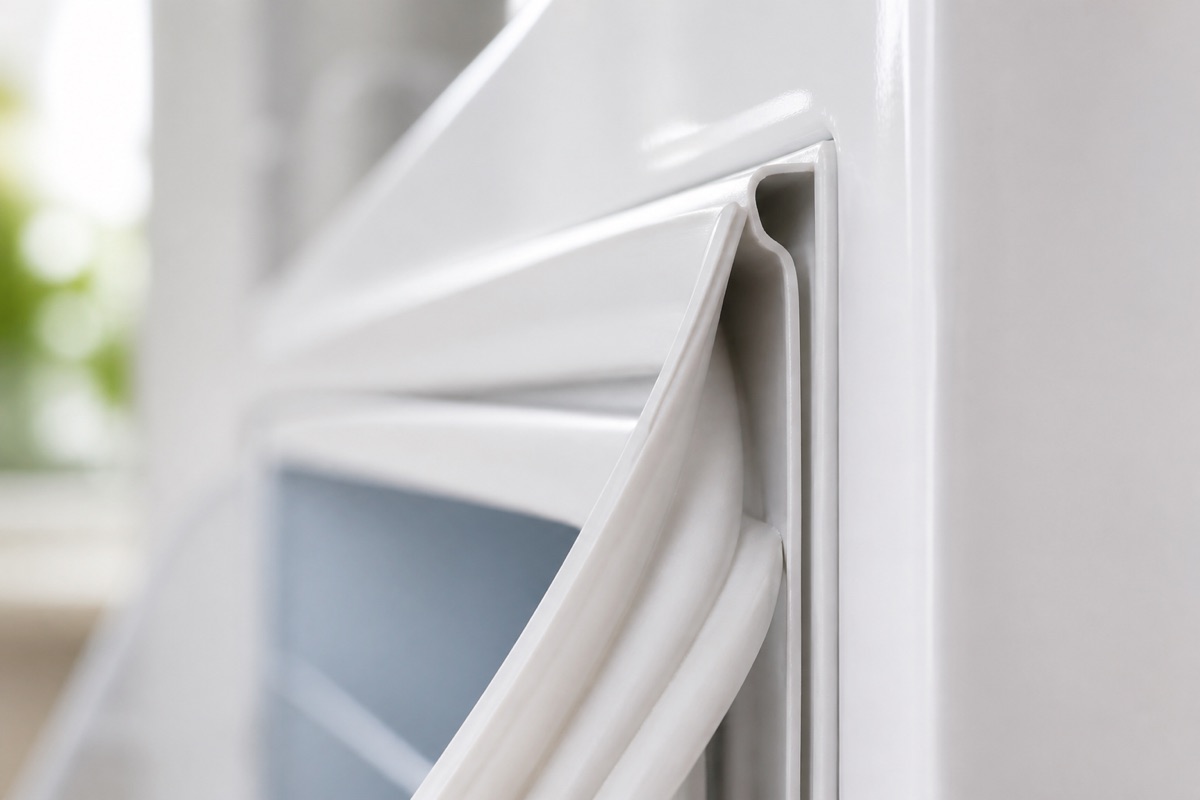
The seal — the gasket — is a flexible magnetic strip that pulls the door against the cabinet. When it works, the fridge holds temperature with the compressor running a fraction of the time. When it does not, the symptoms are easy to blame on the fridge being old.
Testing it: two methods, both take a minute
The paper test
Close the door on a banknote or a sheet of paper so that half is inside and half is out. Pull it. You should feel clear resistance — enough that the paper drags. Repeat at eight or ten points around all four sides of each door.
Anywhere the paper slides out with no resistance is a leak. Note where: the pattern tells you the cause. Failures concentrated at the hinge side usually mean a sagging door or hinge; failures along the bottom or at one corner usually mean a deformed or hardened gasket.
The torch test
In a dark room, put a bright torch inside the fridge pointing at the door edge, and close it. Walk around the outside. Light escaping anywhere marks the leak precisely. This is the better test for a small localised gap.
Cleaning, which fixes more cases than people expect
A gasket that fails the paper test is often not worn out — it is dirty. Syrup, milk and general kitchen film build up in the folds of the bellows, and once that residue hardens it holds the seal open by a millimetre or two, which is all it takes.
- Mix warm water with a little dish soap. Nothing stronger.
- Work along the gasket with a cloth, then use a soft brush or a cotton bud to get inside the folds and into the corners.
- Wipe the flat surface of the cabinet that the gasket meets — half the residue is on that side.
- Dry it thoroughly. A damp gasket in a cold cabinet is where mould starts.
What not to use
- Bleach and other chlorine cleaners — they degrade the rubber and shorten its life.
- Petroleum jelly — widely recommended online, and it does soften a gasket temporarily. Petroleum products attack many synthetic rubbers over time, and you will be replacing the seal sooner than if you had left it alone.
- Abrasives and scouring pads — a scratched gasket face never seals properly again.
Fixing a deformed gasket
If the seal has taken a set — a flattened or folded section where something pressed against it — mild heat will often bring it back. Run a hair dryer on a low setting over the affected section for 20 to 30 seconds, keeping it moving and holding it a hand’s width away, then press the section back into shape and hold it for a minute as it cools. Do not park the heat in one place; overheated rubber is worse than kinked rubber.
When the door itself is the problem
If leaks cluster on the hinge side, the door is sagging. Check the hinge screws at the top of the cabinet — they loosen over years of use, particularly on doors carrying full bottle racks. Snug them up and retest.
Also check the fridge is level, or very slightly tilted back. A cabinet tipped forward lets doors drift open, and puts uneven load on the bottom of the gasket. Most units adjust on their front feet.
Replacing it
Replace when the gasket is cracked or torn, when it has gone hard and no longer springs back after being compressed, or when it fails the paper test in several places after a thorough clean.
Gaskets are model-specific — order by the appliance model number, not by measurement. Most are one of two designs:
- Push-in: a barbed tongue pressed into a channel in the door. Pull the old one out, press the new one in, working from the corners.
- Screw-retained: the gasket is trapped behind the inner door liner. Loosen — do not remove — the retaining screws around the liner, slide the old gasket out, slide the new one in, retighten.
Two things make the job easier: leave the new gasket somewhere warm, or in warm water, for half an hour before fitting so it is pliable and the packing creases relax; and refit one side at a time rather than pulling the whole seal off at once, so you always have a reference for how it sits.
How often to check
| Task | Frequency |
|---|---|
| Wipe gasket clean | Monthly |
| Paper or torch test | Every 6 months |
| Check hinge screws and level | Annually |
If the seal is fine and it still runs constantly
Check the condenser coils before assuming anything has failed. Dust-blanketed coils produce exactly the same symptom — a compressor that never seems to stop — and they are the more common cause of the two.
Common questions
Which test is better, paper or torch?
Use both. The paper test tells you where the seal has lost compression and lets you map the pattern around all four sides. The torch test is more sensitive for finding a single small localised gap. The pattern matters — leaks at the hinge side mean a sagging door, leaks along the bottom mean a deformed gasket.
Should I use petroleum jelly to soften a stiff gasket?
No, despite how often it is recommended. Petroleum products attack many synthetic rubbers over time, so you will be replacing the seal sooner than if you had left it alone. Warm soapy water and thorough drying is the correct maintenance.
My gasket failed the paper test. Does it need replacing?
Not necessarily — clean it first. Syrup, milk and kitchen film build up in the folds and harden, holding the seal open by a millimetre or two, which is all it takes. A thorough clean fixes more cases than people expect.
Can a deformed section be fixed?
Often. Run a hair dryer on low over the affected section for 20 to 30 seconds, keeping it moving and a hand’s width away, then press it back into shape and hold for a minute as it cools. Do not park the heat in one spot — overheated rubber is worse than kinked rubber.
The seal is fine but the fridge runs constantly. What else?
Check the condenser coils before assuming a fault. Dust-blanketed coils produce exactly the same symptom and they are the more common of the two causes.